


Previously, in “Exploring React Native (Continued Part 2)”, we continued to work on our simple app. The code for the app was long and was all located in one file after the article, “Exploring React Native (Continued Part 1)”. Being that React Native uses native components as building blocks, we decided to break down each part of the app into custom components. There was a custom component for our images, texts, and buttons. Then we used React Native’s View component to create cards for each subject and learned the different ways to style components.
In this article, we will continue to work on our project implementing the TextInput component provided by React Native. Then we will use some JavaScript functions to convert the counter into the correct data type.
Let’s get started!
Built In Components
I will be working on a Mac using Visual Studio Code as my editor, run the app on the iOS simulator and will be working with the “FirstRNProject” project. If you are using Windows or are targeting Android, I will test the app on the Android emulator at the end of the article. This code will also work if you are using Expo and will also be tested later on.
If you are starting with a new React Native or Expo project or didn’t follow the previous article, here is the project structure:

Here is the code:
App.js
import React, { Component } from 'react';

import Main from './src/screens/Main'

class App extends Component {

render() {

return <Main />

}

}

export default App;
Main.js
import React, { Component } from 'react';

import { ScrollView, StyleSheet, View } from 'react-native';

import OurImage from '../components/OurImage';

import Question from '../components/Question';

import Counter from '../components/Counter';

import OurButton from '../components/OurButton';

const styles = StyleSheet.create({

container: {

flex: 1,

backgroundColor: '#bff0d4',

paddingTop: 20

},

cardStyle: {

borderColor: '#535B60',

borderWidth: 2,

margin: 20,

borderRadius: 10,

},

buttonRow: {

flexDirection: 'row',

alignSelf: 'center'

}

});

class Main extends Component {

state = {

raccoons: 0,

pigeons: 0

};

//Raccoon Functions

addRaccoons = () => {

this.setState({

raccoons: this.state.raccoons + 1

})

}

removeRaccoons = () => {

if(this.state.raccoons !== 0){

this.setState({

raccoons: this.state.raccoons - 1

})

}

}

//Pigeon Functions

addPigeons = () => {

this.setState({

pigeons: this.state.pigeons + 1

})

}

removePigeons = () => {

if(this.state.pigeons !== 0){

this.setState({

pigeons: this.state.pigeons - 1

})

}

}

render() {

return (

<ScrollView style={styles.container}>

{/* Raccoon */}

<View style={styles.cardStyle}>

<OurImage imageSource={require('../img/raccoon.png')} />

<Question question='How many raccoons did you see last night?' />

<Counter count={this.state.raccoons} />

{/* Raccoon Button */}

<View style={styles.buttonRow}>

<OurButton buttonColor='#9FC4AD'

onPressed={this.addRaccoons}

text='PLUS'

/>

<OurButton buttonColor='#BAAAC4'

onPressed={this.removeRaccoons}

text='MINUS'

/>

</View>

</View>

{/* Pigeon */}

<View style={[styles.cardStyle, {marginBottom: 60}]}>

<OurImage imageSource={{ uri: 'http://cdn.pixabay.com/photo/2012/04/02/12/43/pigeon-24391_1280.png' }} />

<Question question='How many pigeons did you see today?' />

<Counter count={this.state.pigeons} />

{/* Pigeon Buttons */}

<View style={styles.buttonRow}>

<OurButton buttonColor='#9FC4AD'

onPressed={this.addPigeons}

text='PLUS'

/>

<OurButton buttonColor='#BAAAC4'

onPressed={this.removePigeons}

text='MINUS'

/>

</View>

</View>

</ScrollView>

)

}

}

export default Main;
OurImage.js
import React from 'react';

import { Image, StyleSheet } from 'react-native';

const styles = StyleSheet.create({

image: {

height: 200,

width: 200,

alignSelf: 'center'

}

})

const OurImage = ({ imageSource }) => (

<Image style={styles.image} resizeMode='contain' source={imageSource} />

);

export default OurImage;
Question.js
import React from 'react';

import { StyleSheet, Text } from 'react-native';

const styles = StyleSheet.create({

question: {

fontSize: 30,

fontWeight: 'bold',

textAlign: 'center',

color: '#535B60',

padding: 10

},

})

const Question = ({ question }) => (

<Text style={styles.question}>{question}</Text>

);

export default Question;
Count.js
import React from 'react';

import { StyleSheet, Text } from 'react-native';

const styles = StyleSheet.create({

number: {

fontSize: 60,

fontWeight: 'bold',

textAlign: 'center',

color: '#535B60',

padding: 10

},

})

const Counter = ({ count }) => (

<Text style={styles.number} >{count}</Text>

);

export default Counter;
OurButton.js
import React from 'react';

import { StyleSheet, Text, TouchableOpacity } from 'react-native';

const styles = StyleSheet.create({

buttonStyling: {

width: 150,

borderRadius: 10,

margin: 5,

alignSelf: 'center'

},

buttonText: {

fontSize: 30,

fontWeight: 'bold',

textAlign: 'center',

color: '#535B60'

},

})

const OurButton = ({ buttonColor, onPressed, text }) => (

<TouchableOpacity onPress={onPressed} style={[styles.buttonStyling, {backgroundColor:buttonColor}]} >

<Text style={styles.buttonText}>{text}</Text>

</TouchableOpacity>

);

export default OurButton;
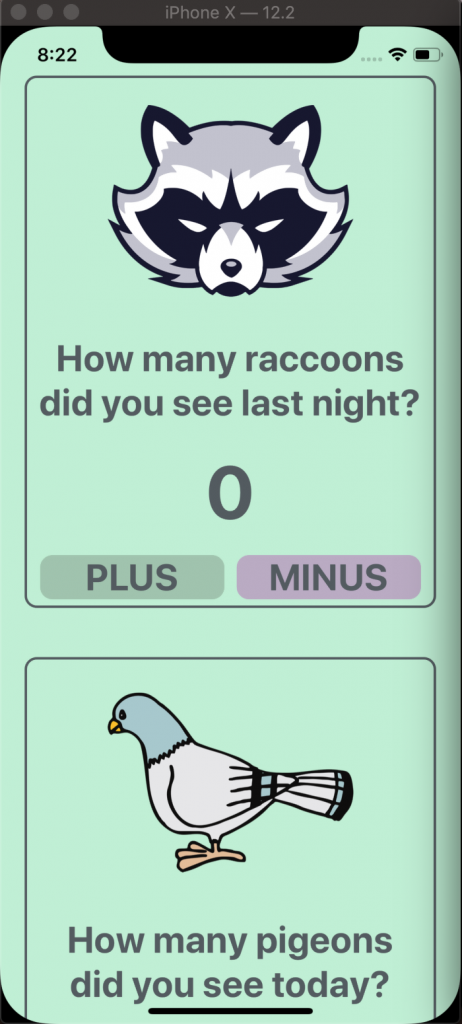
Here is how the app looked:
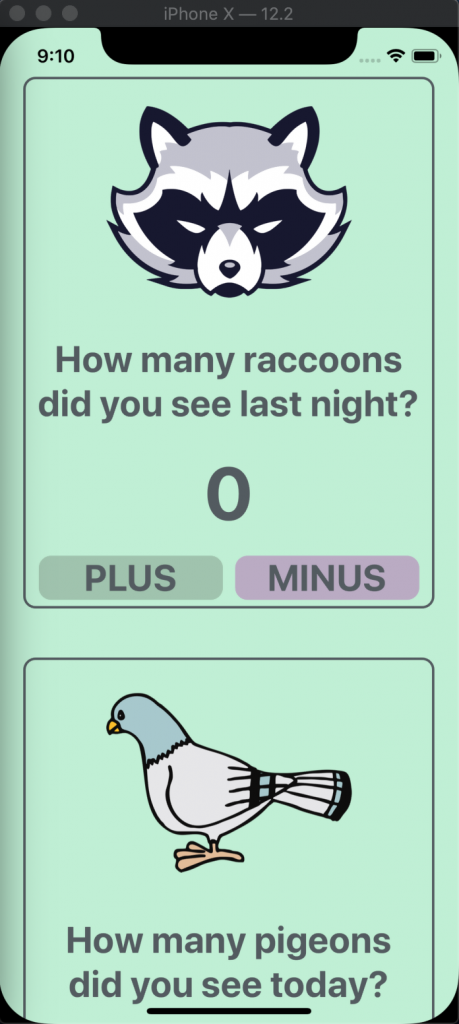
The app looks great, the code is clean and we have custom components. What we will be doing is giving the user the option to change the counter with the keyboard. This will be done with React Native’s TextInput component. According to React Native’s documentation, “A foundational component for inputting text into the app via a keyboard. Props provide configurability for several features, such as auto-correction, auto-capitalization, placeholder text, and different keyboard types, such as a numeric keypad.”
Open the “Counter.js” file and import TextInput from React Native. Then delete the Text component and replace that with the TextInput component like this:
import React from 'react';

import { StyleSheet, Text, TextInput } from 'react-native';

const styles = StyleSheet.create({

number: {

fontSize: 60,

fontWeight: 'bold',

textAlign: 'center',

color: '#535B60',

padding: 10

},

})

const Counter = ({ count }) => (

<TextInput />

);

export default Counter;
Save the file and reload.
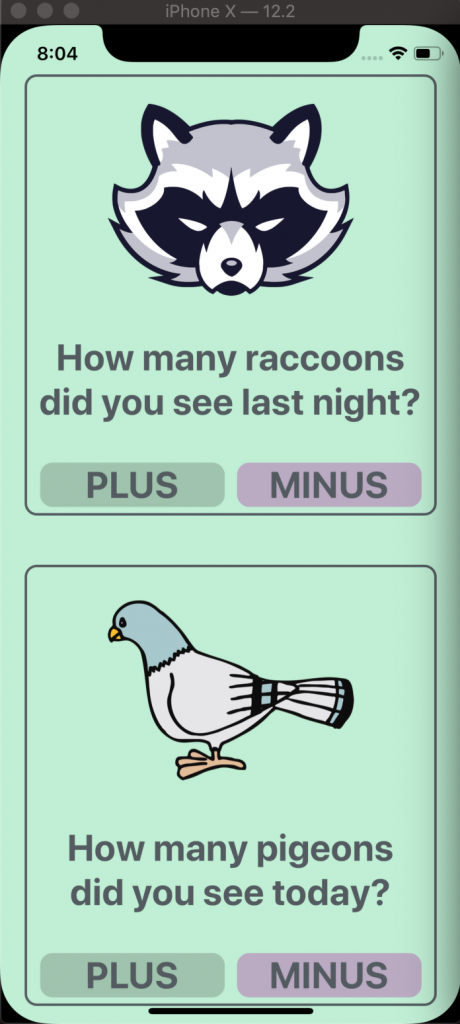
Hey what happened to the zero? Well, TextInput requires a that a value prop be passed. Give the component a prop of “value” that is equal to the count.
<TextInput value={count} />
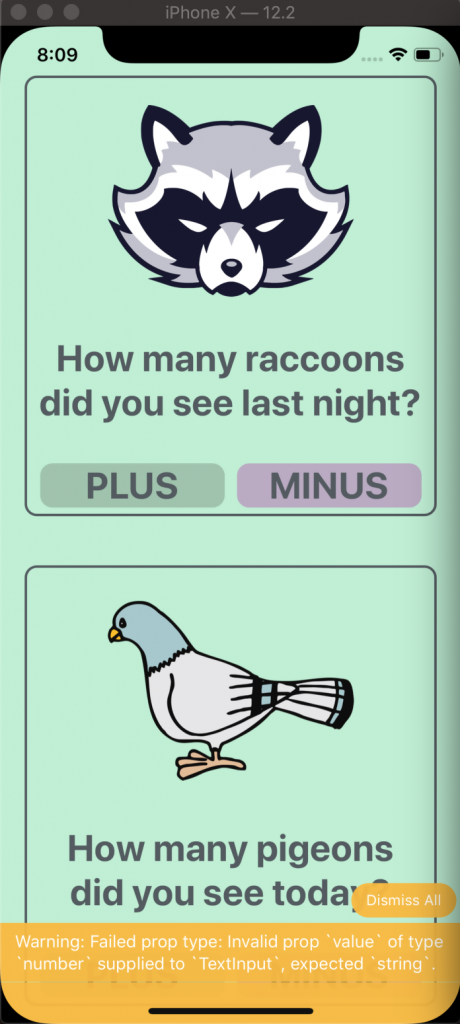
Nothing appears. If you look at the bottom of the screen, you will see that there is a warning. The warning says that the value of TextInput must be a string. In order for the TextInput component to work, we will need to use some JavaScript. The plan is to change the data from a number to a string. Then when the buttons are pressed we will convert the string to number then back to string. Hopefully this works.
Start by changing the data in state from a number to a string. Go to “Main.js” and simply put the quotes around the zero, like this:
state = {

raccoons: '0',

pigeons: '0'

};
Save and reload the file to see that the zeroes appear again.
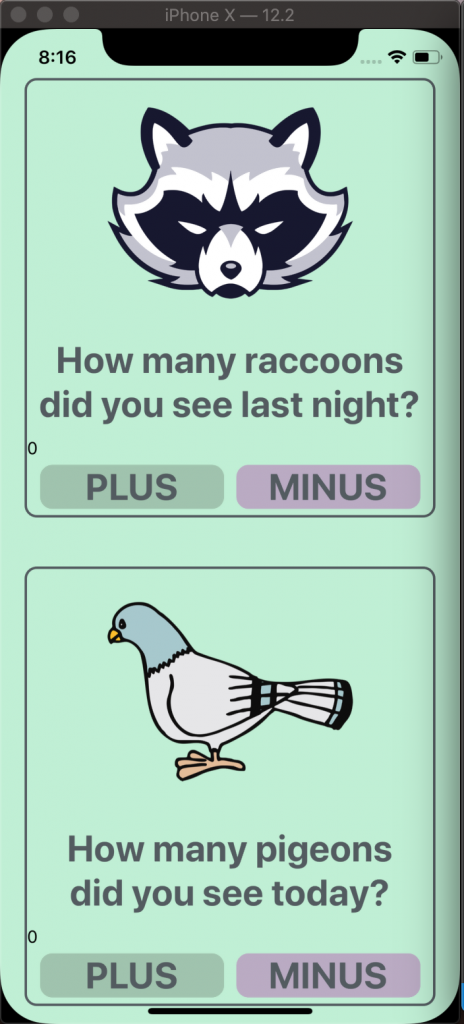
We have lost our styling. Let’s add styling to the TextInput component in “Counter.js” by passing the style prop.
const styles = StyleSheet.create({

number: {

fontSize: 60,

fontWeight: 'bold',

textAlign: 'center',

color: '#535B60',

padding: 10

},

})

const Counter = ({ count }) => (

<TextInput

style={styles.number}

value={count}

/>

);
If we save the file and reload the app, the zeroes will appear with the styling we had before.
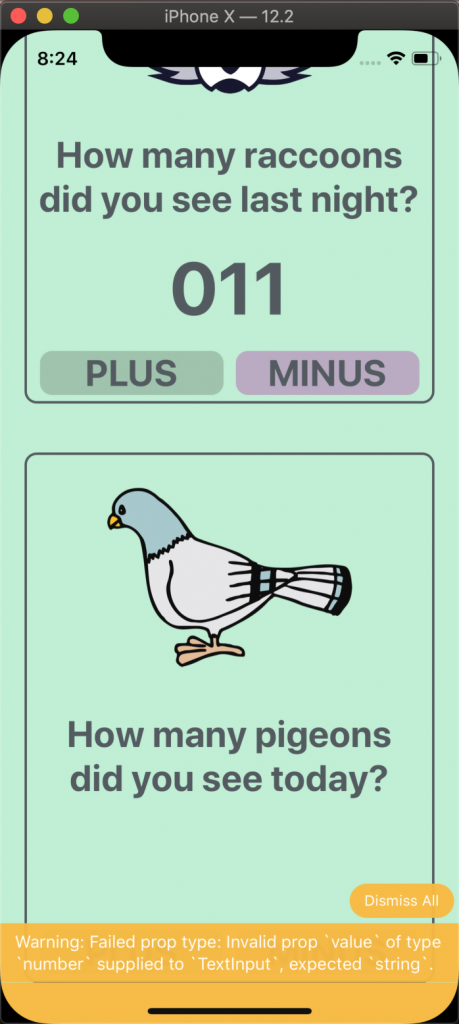
But if you try using the “PLUS” button, it will concatenate a one to the end of the text every time you press it. And if you use the “MINUS” button, the text will disappear and a warning will pop up.
For the raccoon section I used the “PLUS” button and for the pigeon section I used the “MINUS” button. These were my results:
Go to “Main.js” and we will start with the “addRaccoons” function. Create a variable named “num”, before “this.setState”. This variable will be equal to “parseInt({this.state.raccoons}) + 1”. JavaScript comes with some built in functions, similarly to how React Native comes with built in components. We are using the function “parseInt()” to convert “{this.state.raccoons}” from a string to a number, then add one. After, we will set “num” equal to “num.toString()”. Here we are using another JavaScript function “toString()”. This function converts a number to a string. Now that “num” is a string again, we can now use “this.setState” to have “raccoons” set to “num”.
//Raccoon Functions

addRaccoons = () => {

let num = parseInt(this.state.raccoons) + 1;

num = num.toString();

this.setState({

raccoons: num

})

}
Save the file and reload the app:
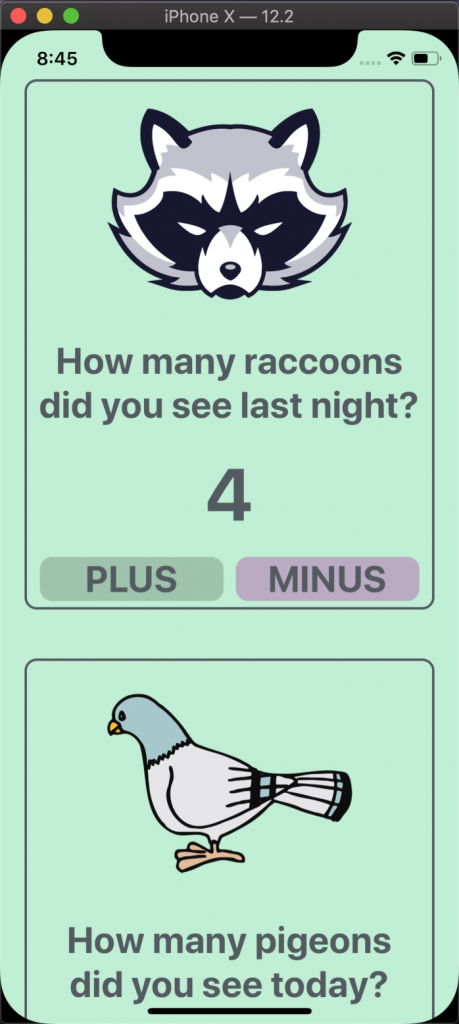
Cool! The button is working and we can implement this to the “addPigeons” function, just remember to use “{this.state.pigeons}”. Now the “PLUS” buttons for the raccoon and pigeon section will work but the “MINUS” will still cause the app to give a warning.
//Pigeon Functions

addPigeons = () => {

let num = parseInt(this.state.pigeons) + 1;

num = num.toString();

this.setState({

pigeons: num

})

}
Go to “removeRaccoons” and start by creating a variable named “num”. This variable will be equal to “parseInt(this.state.raccoons)”. Then replace “{this.state.raccoons}” with “num” in the if condition. If “num” is not equal to zero, set “num” to “num – 1” and then convert it to a string. Last thing to do is set “{this.state.raccoons}” to “num”.
Here is the code:
removeRaccoons = () => {

let num = parseInt(this.state.raccoons);

if(num !== 0){

num = num - 1;

num = num.toString();

this.setState({

raccoons: num

})

}

}
The counter for the raccoon is working again. Let’s go and add this logic to the “removePigeons” function. Again, remember to use “this.state.pigeons” or the button will not work correctly.
Here are the four functions for the raccoon and pigeon buttons:
//Raccoon Functions

addRaccoons = () => {

let num = parseInt(this.state.raccoons) + 1;

num = num.toString();

this.setState({

raccoons: num

})

}

removeRaccoons = () => {

let num = parseInt(this.state.raccoons);

if(num !== 0){

num = num - 1;

num = num.toString();

this.setState({

raccoons: num

})

}

}

//Pigeon Functions

addPigeons = () => {

let num = parseInt(this.state.pigeons) + 1;

num = num.toString();

this.setState({

pigeons: num

})

}

removePigeons = () => {

let num = parseInt(this.state.pigeons);

if(num !== 0){

num = num - 1;

num = num.toString();

this.setState({

pigeons: num

})

}

}
Next what we want to do is choose the keyboard type of TextInput component. By default, the keyboard consist of the alphabet but we don’t need letters.
Go back to “Counter.js” and pass the TextInput component the following prop, “keyboard=’numeric’”.
<TextInput

style={styles.number}

value={count}

keyboardType='numeric'

/>
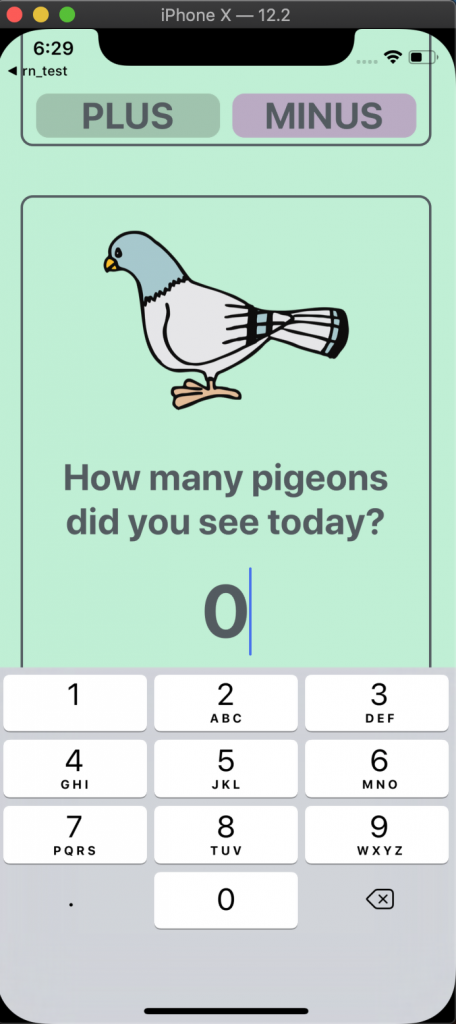
To test that the correct keyboard appears, save and reload the app. Then press on zero and the keyboard will appear. If the keyboard does not appear in the iOS simulator, click on “Hardware” menu and head to “Keyboard”. Then select “Toggle Software Keyboard”. Or on your computer’s keyboard, press “Command” and “K”.
![]()
![]()
It looks fine when editing the raccoon’s counter but we can’t see the text field when editing the pigeon’s counter. We need the text fields to move up when the keyboard pops up. Luckily, React Native has a component named KeyboardAvoidingView which we can use. This component, according to the React Native documentation, “is a component to solve the common problem of views that need to move out of the way of the virtual keyboard. It can automatically adjust either its position or bottom padding based on the position of the keyboard.”
First, import KeyboardAvoidingView from React Native. Then inside the render function, wrap the entire JSX code with KeyboardAvoidingView. Give this component a style prop equal to “flex: 1” and a behavior prop equal to “padding”.
import { KeyboardAvoidingView, ScrollView, StyleSheet, View } from 'react-native';

<KeyboardAvoidingView style={{ flex: 1 }} behavior="padding">

<ScrollView style={styles.container}>

{/* Raccoon */}

<View style={styles.cardStyle}>

<OurImage imageSource={require('../img/raccoon.png')} />

<Question question='How many raccoons did you see last night?' />

<Counter count={this.state.raccoons} />

{/* Raccoon Button */}

<View style={styles.buttonRow}>

<OurButton buttonColor='#9FC4AD'

onPressed={this.addRaccoons}

text='PLUS'

/>

<OurButton buttonColor='#BAAAC4'

onPressed={this.removeRaccoons}

text='MINUS'

/>

</View>

</View>

{/* Pigeon */}

<View style={[styles.cardStyle, {marginBottom: 60}]}>

<OurImage imageSource={{ uri: 'http://cdn.pixabay.com/photo/2012/04/02/12/43/pigeon-24391_1280.png' }} />

<Question question='How many pigeons did you see today?' />

<Counter count={this.state.pigeons} />

{/* Pigeon Buttons */}

<View style={styles.buttonRow}>

<OurButton buttonColor='#9FC4AD'

onPressed={this.addPigeons}

text='PLUS'

/>

<OurButton buttonColor='#BAAAC4'

onPressed={this.removePigeons}

text='MINUS'

/>

</View>

</View>

</ScrollView>

</KeyboardAvoidingView>
Save the file and reload the app. Try selecting the text input for the pigeon and notice that it moves up above the keyboard.
Much better! Now, we need to work on the handling the user input. If you are to press a number, you will see that the zero remains. TextInput has a prop called onChangeText, which we need to implement.
Go to “Counter.js” and add the prop onChangeText, we will set this equal to “handleText”. “handleText” will be a prop that is passed to “Counter.js” from “Main.js”
Counter.js
const Counter = ({ count, handleText }) => (

<TextInput

style={styles.number}

value={count}

keyboardType='numeric'

onChangeText={handleText}

/>

);
Then in “Main.js”, head to the Counter component and give it the prop “handleText”. We will have this prop equal an arrow function which takes the users input and sets the state equal to it.
Main.js
<Counter

count={this.state.raccoons}

handleText={(text) => this.setState({ raccoons: text})}

/>
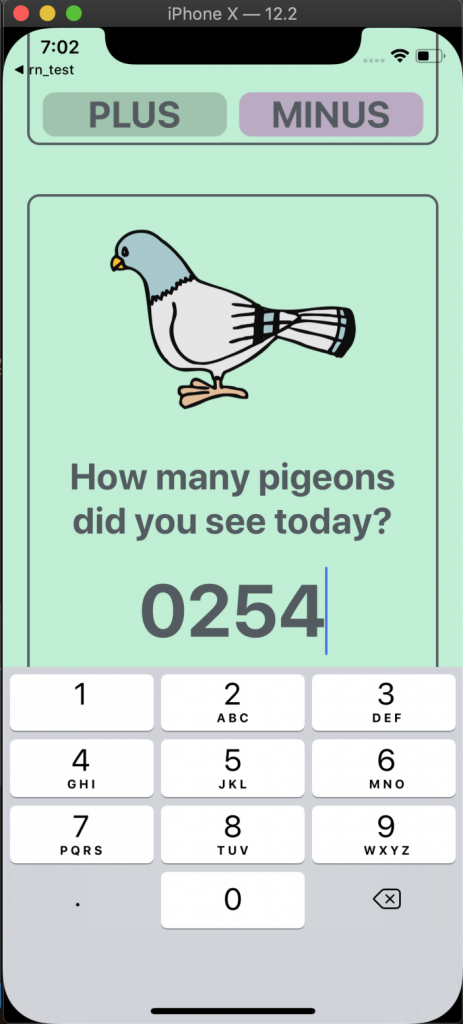
Now when we use the keyboard to enter a number, the text will change.
![]()
Cool! We can change the text by pressing on the keyboard. Yes, the zero is front of the numbers doesn’t look nice but it is working. We can even use our buttons to increase or decrease the value. We won’t worry about the zero for now, instead let’s implement the “handleText” for the pigeon section.
<Counter

count={this.state.pigeons}

handleText={(text) => this.setState({ pigeons: text})}

/>
Save the file and reload to test the pigeon section.
Great! It works here too. At this point we know the app works on the iOS simulator, let’s go ahead and test it on Android first then in Expo.
Here is how it looks on Android:
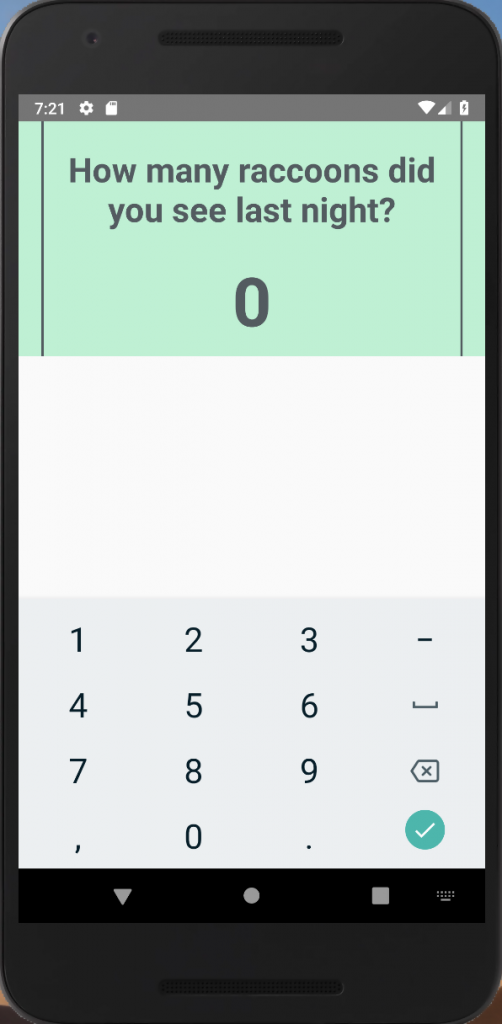
Woah! That was unexpected. If we go back to the React Native document on behavior prop for KeyboardAvoidingView, it states that, “Note: Android and iOS both interact with this prop differently. Android may behave better when given no behavior prop at all, whereas iOS is the opposite.” Therefore, it is the behavior prop that is passed to KeyboardAvoidingView that is causing the spacing between the keyboard and the text input.
What we can do is check on which phone the app is running. We first import Platform and create a variable called “paddingBehavior”. This variable will check to see if the app is running on iOS and if it is then “paddingBehavior = ‘padding’”, else it is equal to ‘’. Using this variable, have “behavior={paddingBehavior}”.
import { KeyboardAvoidingView, Platform, ScrollView, StyleSheet, View } from 'react-native';

const paddingBehavior = Platform.OS === 'ios' ? 'padding' : '';

<KeyboardAvoidingView style={{ flex: 1 }} behavior={paddingBehavior}>
Save the file and reload the app.
![]()
Works much better! Time to test on Expo. After copying the code into the Expo project and running the app, here is what I got:

Nice! The app is working great in Expo as well. Here are the two files worked on throughout this article.
Main.js
1. import React, { Component } from 'react';

2. import { KeyboardAvoidingView, Platform, ScrollView, StyleSheet, View } from 'react-native';

import OurImage from '../components/OurImage';

import Question from '../components/Question';

import Counter from '../components/Counter';

import OurButton from '../components/OurButton';

const paddingBehavior = Platform.OS === 'ios' ? 'padding' : '';

const styles = StyleSheet.create({

container: {

flex: 1,

backgroundColor: '#bff0d4',

paddingTop: 20

},

cardStyle: {

borderColor: '#535B60',

borderWidth: 2,

margin: 20,

borderRadius: 10,

},

buttonRow: {

flexDirection: 'row',

alignSelf: 'center'

}

});

class Main extends Component {

state = {

raccoons: '0',

pigeons: '0'

};

//Raccoon Functions

addRaccoons = () => {

let num = parseInt(this.state.raccoons) + 1;

num = num.toString();

this.setState({

raccoons: num

})

}

removeRaccoons = () => {

let num = parseInt(this.state.raccoons);

if(num !== 0){

num = num - 1;

num = num.toString();

this.setState({

raccoons: num

})

}

}

//Pigeon Functions

addPigeons = () => {

let num = parseInt(this.state.pigeons) + 1;

num = num.toString();

this.setState({

pigeons: num

})

}

removePigeons = () => {

let num = parseInt(this.state.pigeons);

if(num !== 0){

num = num - 1;

num = num.toString();

this.setState({

pigeons: num

})

}

}

render() {

return (

<KeyboardAvoidingView style={{ flex: 1 }} behavior={paddingBehavior}>

<ScrollView style={styles.container}>

{/* Raccoon */}

<View style={styles.cardStyle}>

<OurImage imageSource={require('../img/raccoon.png')} />

<Question question='How many raccoons did you see last night?' />

<Counter

count={this.state.raccoons}

handleText={(text) => this.setState({ raccoons: text})}

/>

{/* Raccoon Button */}

<View style={styles.buttonRow}>

<OurButton buttonColor='#9FC4AD'

onPressed={this.addRaccoons}

text='PLUS'

/>

<OurButton buttonColor='#BAAAC4'

onPressed={this.removeRaccoons}

text='MINUS'

/>

</View>

</View>

{/* Pigeon */}

<View style={[styles.cardStyle, {marginBottom: 60}]}>

<OurImage imageSource={{ uri: 'http://cdn.pixabay.com/photo/2012/04/02/12/43/pigeon-24391_1280.png' }} />

<Question question='How many pigeons did you see today?' />

<Counter

count={this.state.pigeons}

handleText={(text) => this.setState({ pigeons: text})}

/>

{/* Pigeon Buttons */}

<View style={styles.buttonRow}>

<OurButton buttonColor='#9FC4AD'

onPressed={this.addPigeons}

text='PLUS'

/>

<OurButton buttonColor='#BAAAC4'

onPressed={this.removePigeons}

text='MINUS'

/>

</View>

</View>

</ScrollView>

</KeyboardAvoidingView>

)

}

}

export default Main;
Counter.js
import React from 'react';

import { StyleSheet, Text, TextInput } from 'react-native';

const styles = StyleSheet.create({

number: {

fontSize: 60,

fontWeight: 'bold',

textAlign: 'center',

color: '#535B60',

padding: 10

},

})

const Counter = ({ count, handleText }) => (

<TextInput

style={styles.number}

value={count}

keyboardType='numeric'

onChangeText={handleText}

/>

);

export default Counter;
These two files were the only files we worked on in this article, if you need the others, please check the beginning of the article.
Great job! We added the TextInput component to allow a user to use the keyboard to edit the counter data. We also used some JavaScript functions to convert the counter from a string to a number and back to a string because TextInput only worked with strings. The buttons still work and can be used to controlled the counter. We also added KeyboardAvoidingView to allow us to always see the text input field when the keyboard pops up. This caused an issue on Android because different props have different affects on specific platforms. To resolve this issue, we created a variable that checked the platform on which the app is running on.
Until next time, please try to go over the code and make changes to better understand the topics that were covered here.