


In the previous article, titled “Getting Started with React Native”, we briefly went over what React Native is. We went through the installation process for the Expo CLI and the React Native CLI. The last thing we did was create an Expo and React Native project and made changes to the code, then run the projects.
But at the end of the article you may have wondered, “Now what?”. In this article I will show you some of the built in components that come with React Native. We will use these components to create a fairly simply one screen app that will keep track of a number that can be increased and decreased by a button. The app will teach you how to add an image, text, buttons, keep track of data and style all these components.
Let’s begin!
Built In Components
Begin by opening your project in the code editor of your choice, remember I use Visual Studio Code. If you recall, in the last article there were two ways to create a project. We created an Expo project, called “FirstExpoProject,” and a React Native project, called “FirstRNProject”. I will be using the “FirstRNProject” project but the code in this article will work for both.
In the Explorer, select App.js, open it and delete all the code inside of the file. Throughout this article I will be showing you the code I write, some times it will only be a snippet of the file and I will use “…” to indicate there is more code above and/or below that snippet. At the end of the article I will post the entire code for the App.js file.
The first two line of code will be the following:
import React, { Component } from ‘react’;
import { StyleSheet, Text, View } from ‘react-native’;
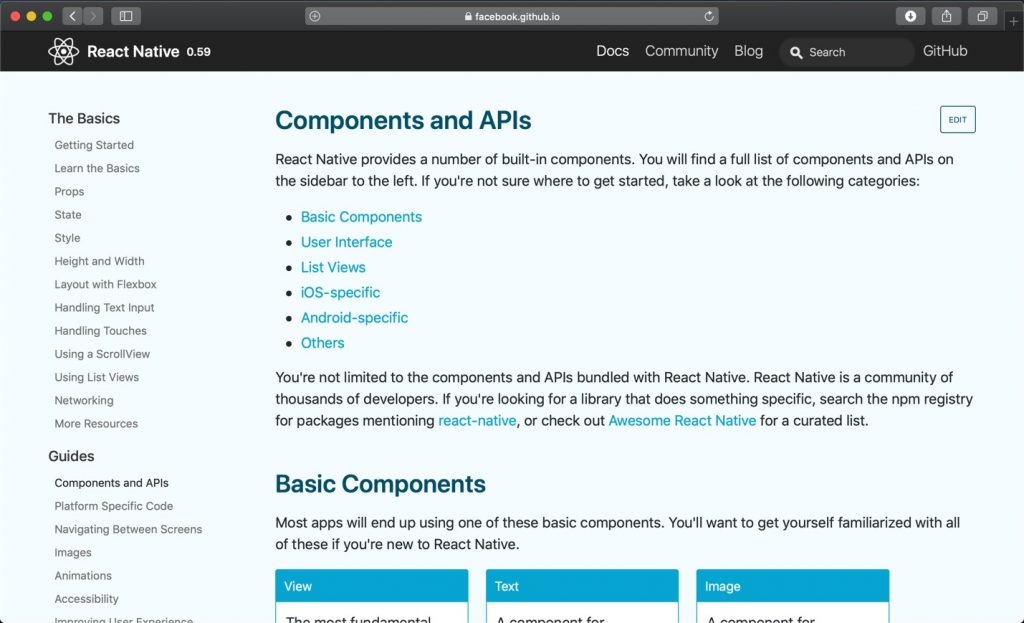
The second line is important to us because this is where we will be importing all of the built in components. The StyleSheet allows us to create a specific set of styles for our components, Text component allows us to create text and the View component is one of the fundamental components for the user interface. To learn more about this components and the others provided by React Native check out this link, http://facebook.github.io/react-native/docs/components-and-apis.
Next, create a variable named styles. This is where we will create a StyleSheet and style our components.
const styles = StyleSheet.create({

)};
Time to create the class and export it. Here is how the code will look:
class App extends Component {

}
export default App;
Inside the class, we need to add the render function and return our View component. Save the file.
class App extends Component {
   render() {
     return (
     <View />
     )
   }
}
At this point we can run the app. As I mentioned before I am using the project we created with the React Native CLI, therefore I will open a Terminal on my Mac and head to the directory where the project is located and enter the following command:
react-native run-ios
If you are using Windows or simply want to test on Android, type the following into the Terminal or Command Prompt:
react-native run-android
If you decided to work with the Expo project, type the following into the Terminal or Command Prompt and use one of the methods from the previous article to run the app on your phone or simulator/emulator:
expo start
Again, I am using a Mac and for the time being will be using the iOS simulator. Later on I will use the Android emulator to point out some styling differences.
What you will see when the app is up and running is a white, blank screen. Here is the app running on the iOS simulator:
![]()
A blank, white screen looks dull, let’s change that by adding some color to the background:
const styles = StyleSheet.create({
  container: {
    flex: 1,
    backgroundColor: '#bff0d4'
  }
});

class App extends Component {
   render() {
     return (
     <View style={styles.container} />
   )
   }
}
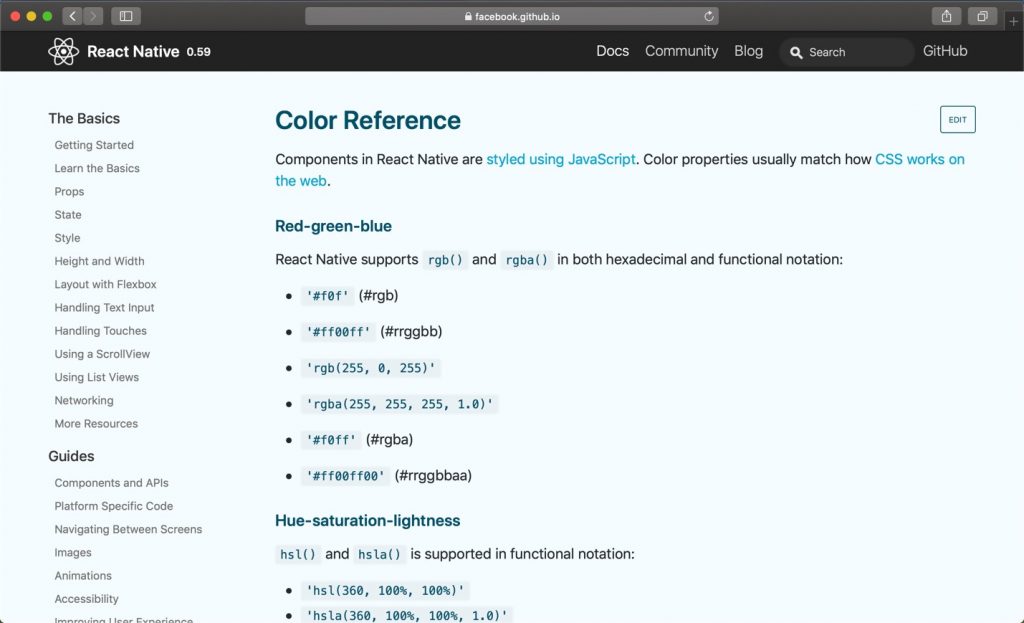
First we add a style prop to the View component. In styles we create a style “container” and gave it a flex of 1 and a background color. “flex: 1”, simply tells the View component to take up all the space available. To learn more about flex, go here http://facebook.github.io/react-native/docs/height-and-width. The color give to the “backgroundColor” can be written in a few ways for React Native, here is a link to learn more, http://facebook.github.io/react-native/docs/colors. If you’ve ever done web development and used CSS, the way to style these components will look familiar. Save the file and if you don’t see the change, reload the simulator/emulator. You can reload by pressing the “Command” and “R” keys for the iOS simulator. For Android emulator, tap “R” twice.
Ok now that we have some color, why not add an image to our app. First thing you need is an image. I found one online of a raccoon, download it and put in a new folder I created inside the project called “img”. But you can also use different type of images, such as using an URL for an image found online. Some of types of images need to have a specific height and width passed to it. Learn more here, http://facebook.github.io/react-native/docs/image. Let’s import the Image component.
import { Image, StyleSheet, Text, View } from 'react-native';

const styles = StyleSheet.create({
  container: {
    flex: 1,
    backgroundColor: '#bff0d4',
    alignItems: 'center',
  }
});

class App extends Component {
  render() {
    return (
    <View style={styles.container}>
    <Image resizeMode='center' source={require('./img/raccoon.png')} />
    </View>
    )
  }
}
Inside the “container” style, I added “alignItems: ‘center’” which centers all the components inside of View horizontally. Next, inside the View component I added the Image component and gave the source the location to the image of the raccoon I am using. I also added “resizeMode=’center’” because the image was large and not displaying properly, this will center the image in the view. Here is what I end up with:
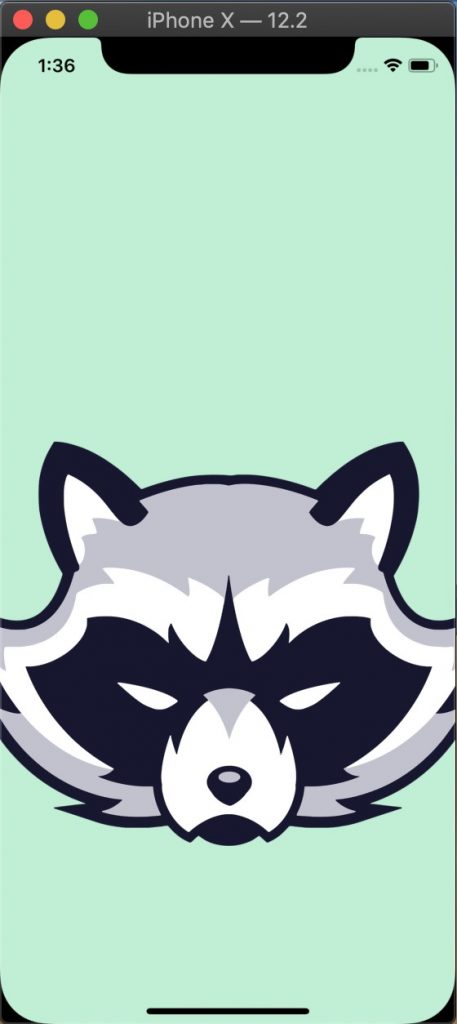
You see that the image is still too large, so we are going to change that.
const styles = StyleSheet.create({
  container: {
    flex: 1,
    backgroundColor: '#bff0d4',
    alignItems: 'center',
  },
  image: {
    height: 200,
    width: 200
  }
});

class App extends Component {
  render() {
    return (
      <View style={styles.container}>
      <Image style={styles.image} resizeMode='contain' source={require('./img/raccoon.png')} />
      </View>
    )
  }
}
Create a new style named “image” and give it a height and width. Pass the style to the Image component and change the “resizeMode” to “contain”. This will ensure the image is resized properly to fit the height and width given.
You will notice the image is too close to the top of the screen and a piece of the ears are cut off. To fix this, add “marginTop” and give it a value of 100. You can play around with the number to get the desired spacing between the top of the screen and the image.
image: {
  height: 200,
  width: 200,
  marginTop: 100
}
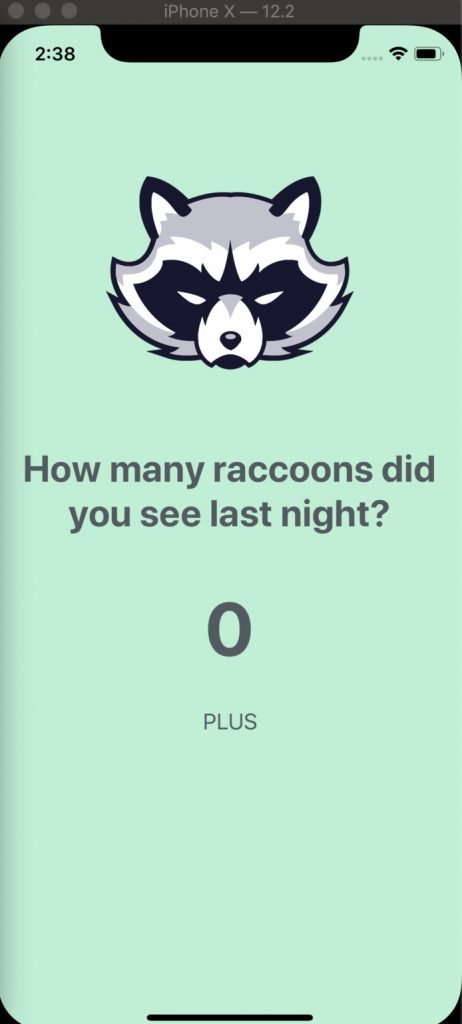
Here is what we have:
Inside the View component and right below the Image component, lets add a Text component with the following text, “How many raccoons did you see last night?”.
return (
  <View style={styles.container}>
  <Image style={styles.image} resizeMode='contain' source={require('./img/raccoon.png')} />
  <Text>How many raccoons did you see last night?</Text>
  </View>
)
The text will appear right below the image but it needs some styling. Create a new style named “question” and give it a font size of 20, make it bold, center and change the color. Don’t forget to pass the prop in the Text component.
<Text style={styles.question}>How many raccoons did you see last night?</Text>
question: {
   fontSize: 20,
   fontWeight: 'bold',
   textAlign: 'center',
   color: '#535B60'
}
Looking much better. Next add a new Text component underneath the question which will track the number of raccoons you see. The styling will be similar to that of the question but the font size will be much bigger.
<Text style={styles.number} >0</Text>
number: {
   fontSize: 60,
   fontWeight: 'bold',
   textAlign: 'center',
   color: '#535B60'
}
Here is what we now have:
When we see a raccoon, we will need to be able to press a button which will increase the number or decrease the number. React Native comes with a built in component called Button and we will use it to create a button for increasing the value. Later on, we will use another component that allows for more customization.
import { Button, Image, StyleSheet, Text, View } from 'react-native';
<View style={styles.container}>
  <Image style={styles.image} resizeMode='contain' source={require('./img/raccoon.png')} />
  <Text style={styles.question} >How many raccoons did you see last night?</Text>
  <Text style={styles.number}>0</Text>
  <Button title='PLUS' color='#535B60' />
</View>
Let’s add the Button component right after the Text component display the number. We pass it a title, “PLUS”, and a color. At the moment our button does not do anything. One thing about the Button component is that they look different on iOS than they do on Android. I am going to run the Android emulator and show you the difference.
Here is the button on Android:
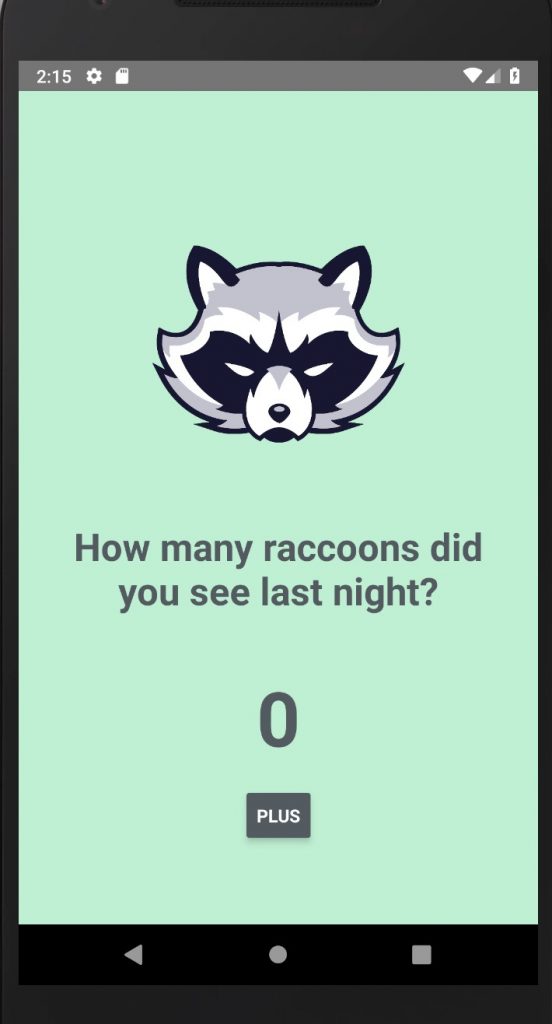
And here is the button on iOS:
Notice how on Android the button has “PLUS” in a white font and is surrounded by the color we provided. But on iOS only the text “PLUS” appears and it is in the color we provided. This is something you will notice when working with React Native and you will need to style your components accordingly.
Before telling the button what to do every time it is pressed, lets create a state that will store our number data. Currently, the number of raccoons seen is set to zero but we want it to change with the pressing of the button.
Create a state with “raccoons” set to zero inside of the class App and before the render function. Then use the data to replace the hard coded zero in the Text component.
class App extends Component {
  state = {
    raccoons: 0
  };

render() {
  return (
    <View style={styles.container}>
    <Image style={styles.image} resizeMode='contain' source={require('./img/raccoon.png')} />
    <Text style={styles.question} >How many raccoons did you see last night?</Text>
    <Text style={styles.number}>{this.state.raccoons}</Text>
Notice how I replaced the “0” in the second Text component with “{this.state.raccoons}”, this calls “raccoons” in the state. Change the “0” in the state to another number, save, and see that it changes.
We’re now ready to make our button do something. Create a function called “addMore” and set “raccoons” to increase by 1. Then in the Button component, add the prop “onPress” and pass it the “addMore” function.
addMore = () => {
  this.setState({
    raccoons: this.state.raccoons + 1
  })
}
<Button onPress={this.addMore} title='PLUS' color='#535B60' />
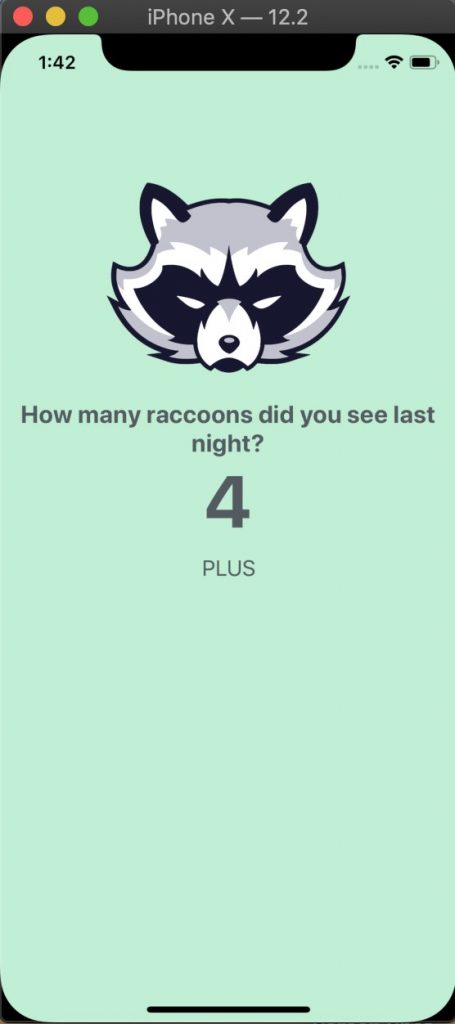
Save the file and see that when you press the button, the counter will increase by one. Here is how it will look:
We can increase the counter but what if we made a mistake and want to decrease the counter? Well, we can create another button that will do just that. This time we will use TouchableOpacity component to create a custom button. Begin by importing TouchableOpacity and adding the component right after the Button component we have in the class. We will wrap the TouchableOpacity around a Text component.
import { Button, Image, StyleSheet, Text, TouchableOpacity, View } from 'react-native';
<Button onPress={this.addMore} title='PLUS' color='#535B60' />

<TouchableOpacity>
<Text>MINUS</Text>
</TouchableOpacity>
Save the file and see that the button needs some styling. We will add styling to the text to change the font size but also to the TouchableOpacity component to make it stand out.
button: {
  backgroundColor: '#BAAAC4',
  width: 200,
  borderRadius: 10
},
buttonText: {
  fontSize: 40,
  fontWeight: 'bold',
  textAlign: 'center',
  color: '#535B60'
}
<TouchableOpacity style={styles.button}>
<Text style={styles.buttonText}>MINUS</Text>
</TouchableOpacity>
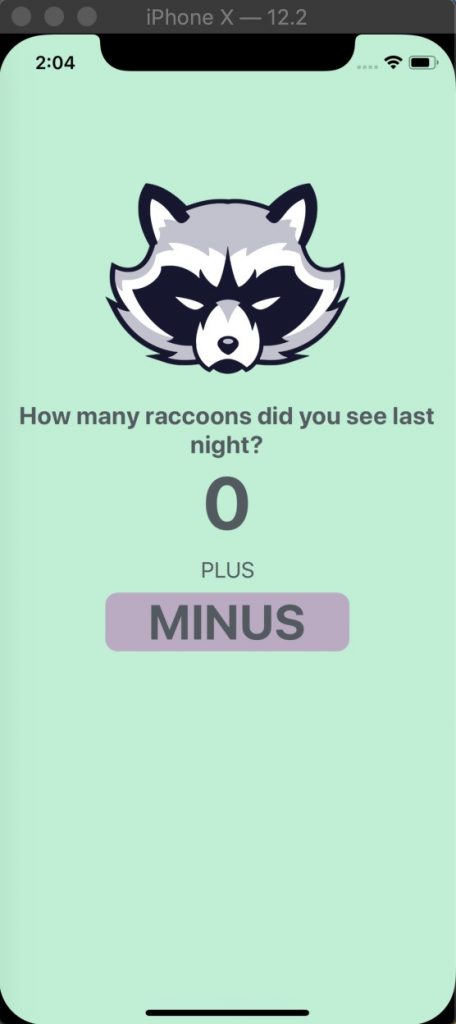
We will give the TouchableOpacity component a background color, width of 200 and border radius of 10 to round the corners. To the Text, same as before, font size of 40, bold, align it to the center and give a color. Here is how it will look:
The “Minus” button currently does nothing. We will create a function and pass it to the TouchableOpacity component, just like we did to the Button component.
removeOne = () => {
  this.setState({
    raccoons: this.state.raccoons - 1
  })
}
<TouchableOpacity onPress={this.removeOne} style={styles.button}>
<Text style={styles.buttonText}>MINUS</Text>
</TouchableOpacity>
Test the app! You can add to the counter and remove from it as well. The “MINUS” button is working but it should stop when it reaches zero, we can’t see a negative number of raccoons. This can be easily fixed by adding an if statement to check the current value of “raccoons”.
removeOne = () => {
  if(this.state.raccoons !== 0){
    this.setState({
      raccoons: this.state.raccoons - 1
    })
  }
}
Before calling this app complete, let’s make the “PLUS” button look like the “MINUS” button and do some other styling changes.
import React, { Component } from 'react';
import { Image, StyleSheet, Text, TouchableOpacity, View } from 'react-native';

const styles = StyleSheet.create({
  container: {
    flex: 1,
    backgroundColor: '#bff0d4',
    alignItems: 'center',
  },
  image: {
    height: 200,
    width: 200,
    marginTop: 100,
    marginBottom: 20
  },
  question: {
    fontSize: 30,
    fontWeight: 'bold',
    textAlign: 'center',
    color: '#535B60',
    padding: 20
  },
  number: {
    fontSize: 60,
    fontWeight: 'bold',
    textAlign: 'center',
    color: '#535B60',
    padding: 20
  },
  plusButton: {
    backgroundColor: '#9FC4AD',
    width: 200,
    borderRadius: 10,
    margin: 10
  },
  minusButton: {
    backgroundColor: '#BAAAC4',
    width: 200,
    borderRadius: 10,
    margin: 10
  },
  buttonText: {
    fontSize: 40,
    fontWeight: 'bold',
    textAlign: 'center',
    color: '#535B60'
  }
});

class App extends Component {
  state = {
    raccoons: 0
  };

  addMore = () => {
    this.setState({
      raccoons: this.state.raccoons + 1
    })
  }
  removeOne = () => {
    if(this.state.raccoons !== 0){
      this.setState({
        raccoons: this.state.raccoons - 1
      })
    }
}

  render() {
    return (
      <View style={styles.container}>
      <Image style={styles.image} resizeMode='contain' source={require('./img/raccoon.png')} />
      <Text style={styles.question} >How many raccoons did you see last night?</Text>

      <Text style={styles.number}>{this.state.raccoons}</Text>

      <TouchableOpacity onPress={this.addMore} style={styles.plusButton} >
      <Text style={styles.buttonText}>PLUS</Text>
      </TouchableOpacity>

      <TouchableOpacity onPress={this.removeOne} style={styles.minusButton}>
      <Text style={styles.buttonText}>MINUS</Text>
      </TouchableOpacity>
      </View>
    )
  }
}

export default App;
First, replace the Button component with a TouchableOpacity component wrapped around a Text component. Pass the “buttonText” style to the Text and the “addMore” function to the TouchableOpacity. Next I wanted to differentiate the two buttons, so I created another style named “plusButton” and renamed “button” to “minusButton”, then passed them accordingly. I then changed the font size of the question and added padding and margin to some components to separate them. Here is what I was left with:
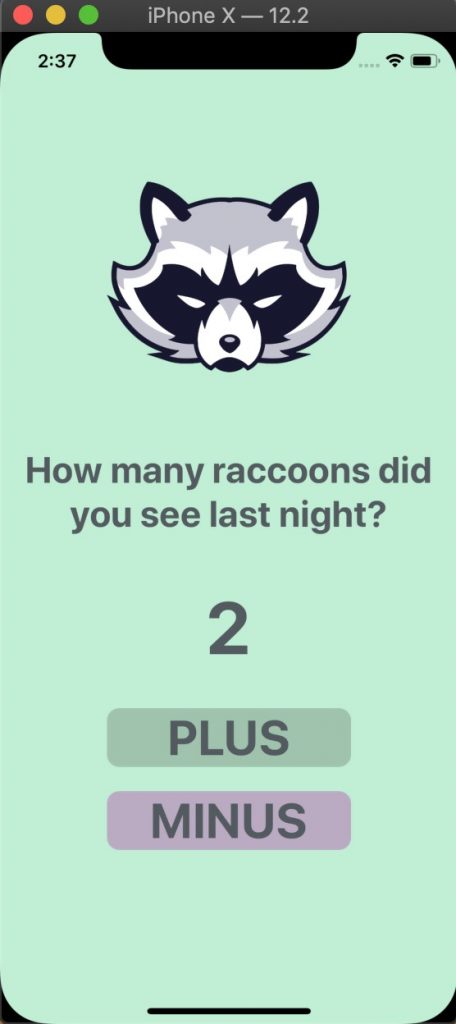
I’m not much of a designer but I am happy with the way the project came out but if there’s something you don’t like, play around with the styling. Adjust the font sizes, font color, background colors or spacing between components. There’s a lot you can do to make your app unique. You can change the image of the raccoon to something else, maybe a bird, or change the color scheme. There are a lot of options online to find royalty free images and color schemes.
In the next article, we will continue to work with this project. We will use more built in components and style them. For now, make sure you understand what was done in this article and if there’s something that doesn’t make sense visit the React Native documentation, http://facebook.github.io/react-native/.